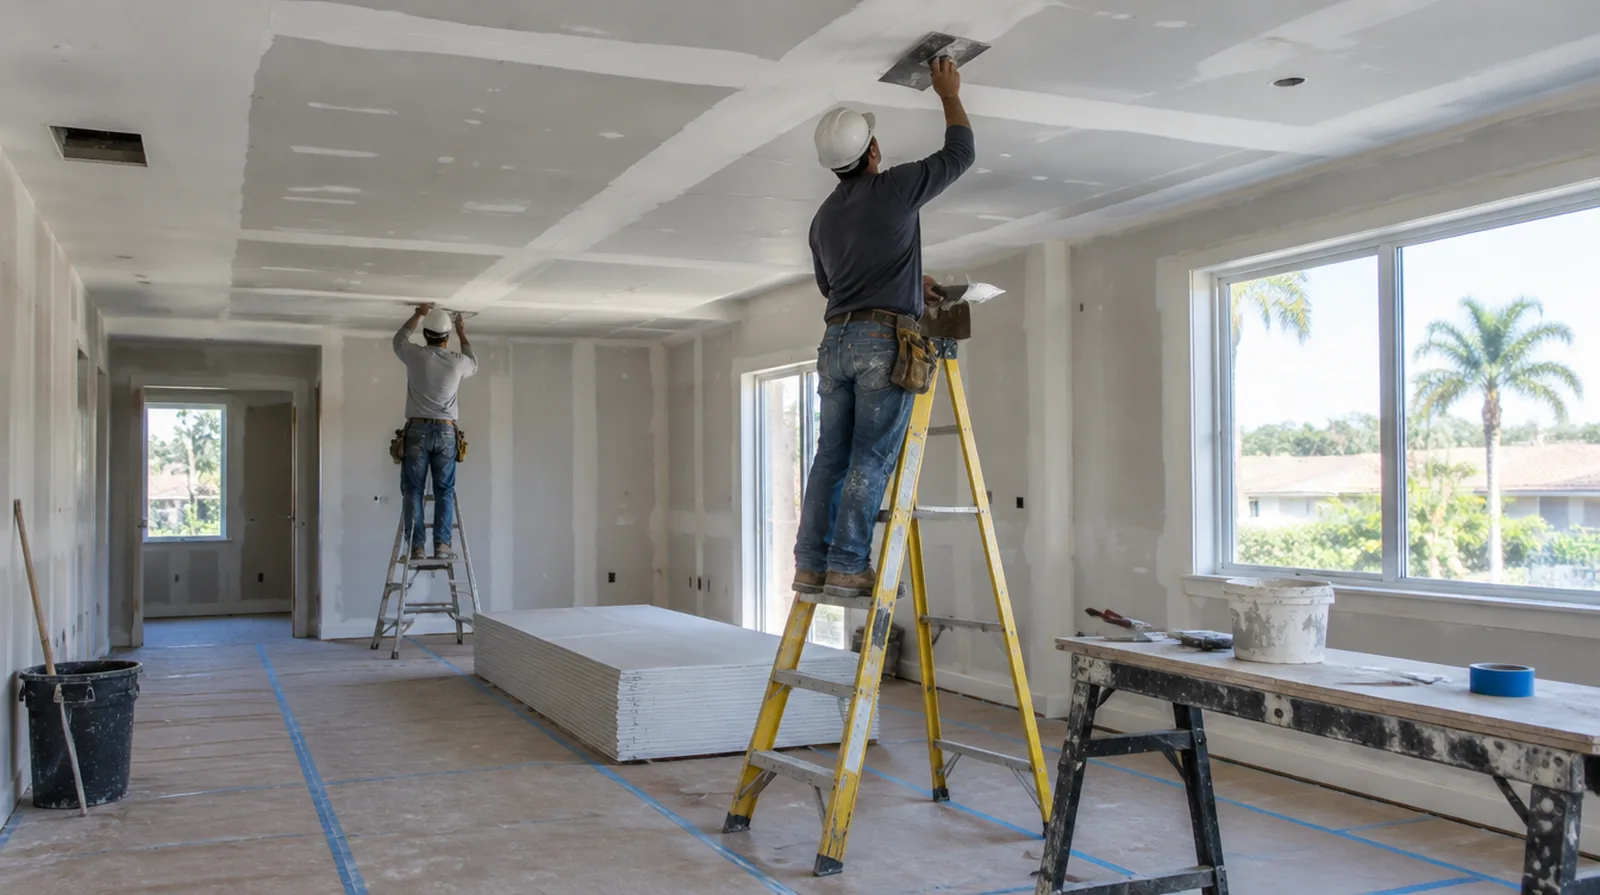
Set the repainting scope
A small fresh white patch can stand out against an older ceiling even when the surface is level. A broader repaint to a logical room boundary can provide a more even decorative result. If the project is part of a larger remodel, settle the sequence with flooring, trim and cabinet work before setting a final finishing date.
Add reliable backing
A ceiling patch needs fastening support on its edges rather than relying on compound to carry its weight. Fit compatible board thickness so the old and new faces meet without an unnecessary step. For an initial assessment from pictures, provide an overall room photograph and a detailed view of the defect so both context and scale are apparent.
Check the source of damage
A visible overhead mark may be evidence of a problem in a service or space above the space. Resolve the source of moisture before relying on a decorative ceiling repair to remain sound. For a tightly furnished room, plan temporary storage and the minimum working clearance before material is carried into the property.
Identify the existing surface
Check whether the overhead finish is gypsum board, plaster or a mixture of older layers. The repair method should match the actual construction instead of assuming every white surface is drywall. When a wall has repeated defects, keep a record of earlier repair attempts so a new assessment does not simply repeat an unsuccessful approach.
Address isolated stains
Inactive discoloration may require a primer selected to block the remaining stain. Establish that the source is no longer active instead of treating primer as a remedy for damp material. For a room that stays in use, set a workable boundary around construction while retaining the access people need for normal daily activities.
Treat the joints overhead
Reinforce the ceiling patch joints and taper the finishing layers well beyond their edges. Overhead seams can be conspicuous because windows often send light almost parallel to the ceiling. At a ceiling or wall containing fittings, assign removal and reinstatement duties for the affected devices before repair access is needed.
Separate fixtures from board work
Handling lights, sprinkler fittings and air grilles may require appropriate trades and building coordination. Assign removal and reinstatement responsibilities for any fitting that blocks safe repair access. When a wall has repeated defects, keep a record of earlier repair attempts so a new assessment does not simply repeat an unsuccessful approach.
Cut back to sound material
A reliable replacement cannot depend on board that has lost strength through water exposure. The removal boundary should reach stable material and allow the replacement to be properly supported. When building management controls access, agree delivery hours and common area protection before committing to a start or finish date.
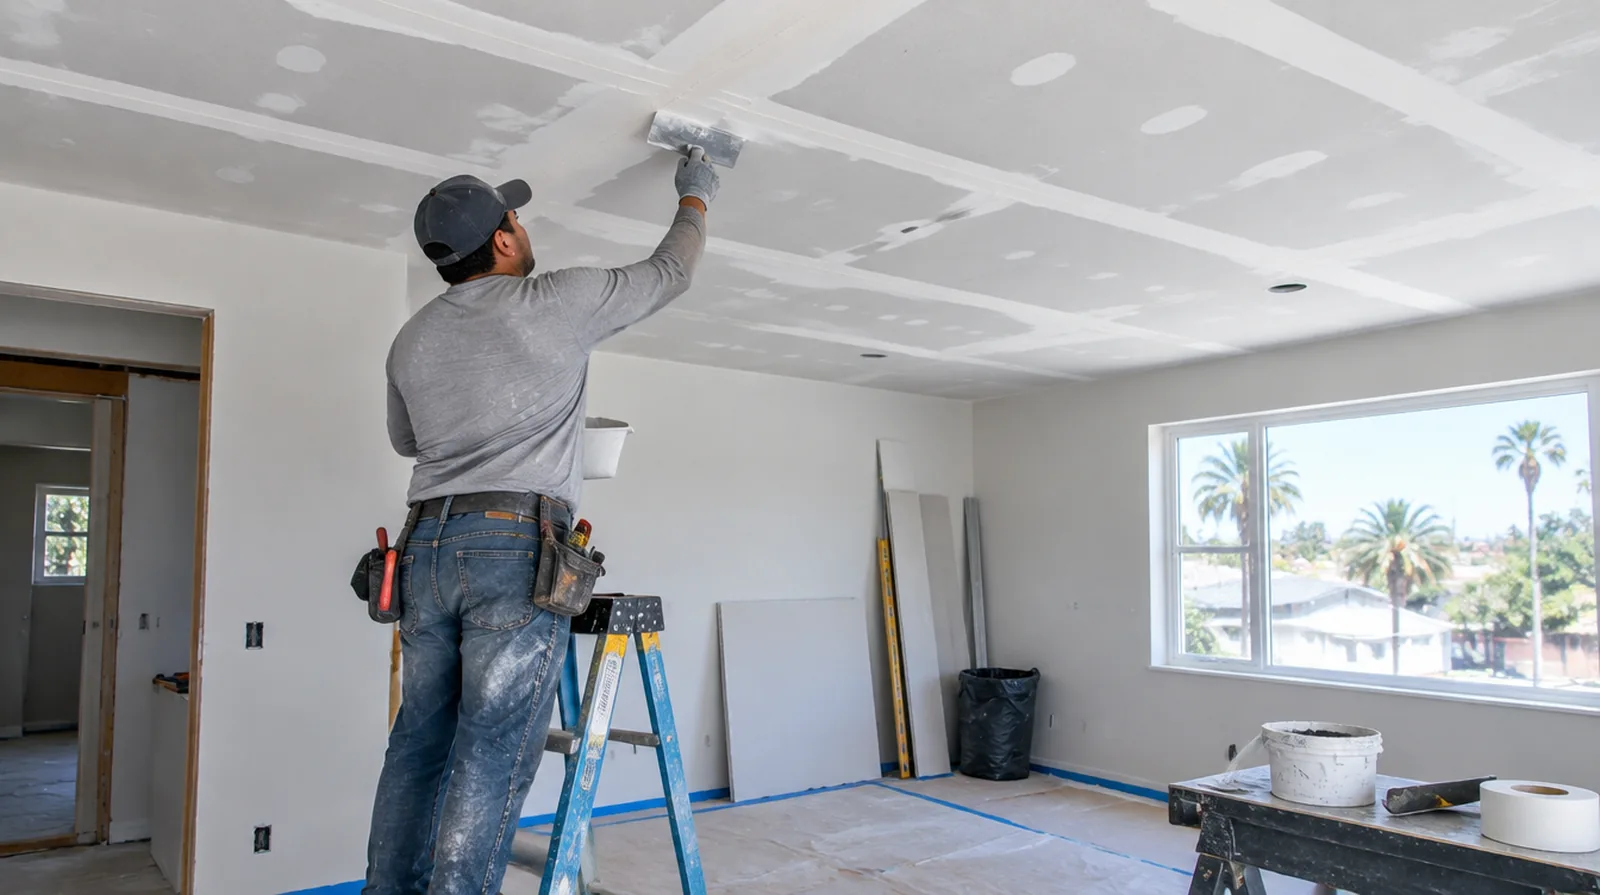
Discuss texture expectations
A smooth ceiling and a textured ceiling need different finishing plans around the repaired section. A representative sample makes it easier to judge whether the existing pattern can be blended locally. Where light reflects along the wall, inspect the complete plane instead of limiting the review to the edge immediately next to the repaired section.
Evaluate sagging sections
A sagging ceiling needs its supports, fixings and damaged materials assessed, not simply smoothed. Avoid using the area beneath a potentially unstable section until it has been evaluated appropriately. At a ceiling or wall containing fittings, assign removal and reinstatement duties for the affected devices before repair access is needed.
Project context in Garden Grove
Old paint layers and a subtle texture can matter as much as the patch dimensions, so keep the decorating plan connected to the surface assessment. Include that viewpoint when discussing how far the finishing blend should extend.
Scope questions before finishing
When more damage could be hidden, ask how any added scope will be documented before extra material is removed or replaced.
If the completion date matters most, allow for intervals between coats as well as active labor rather than assuming the entire process happens continuously.
When comparing competing estimates, make sure their protection, surface finish and disposal allowances describe equivalent work before comparing the final prices.
At a repair beside an opening, allow clearance for moving board through the doorway and space to use the finishing tools effectively.
For a tightly furnished room, plan temporary storage and the minimum working clearance before material is carried into the property.
For a room that stays in use, set a workable boundary around construction while retaining the access people need for normal daily activities.
For a wall receiving a decorative covering, provide its preparation requirements early adequate for the drywall finish to support that product.
For an older repair with no clear history, describe when the mark first appeared and whether it has changed through more than one season.
Where the wall meets fixed furniture, clarify whether removal is included or whether the finish will terminate at the accessible edge.
For a room with restricted airflow, plan drying conditions alongside dust protection and the comfort of people occupying neighboring spaces.
If the existing finish is unusual, keep a small reference sample or a close photograph to support the discussion about blending and restoration.
When the history of a repair is uncertain, note when it became visible and whether its appearance has altered across differing seasons.
Explore the Garden Grove drywall overview for related options, or read the project planning information before arranging the next stage.
More planning details for Garden Grove
A Garden Grove living room repair may be seen most often from the entry rather than directly in front of the damaged spot. If the room stays occupied, choose a practical place for furniture and define which route remains open during work. Floor protection should follow material handling from the entrance to the repair.