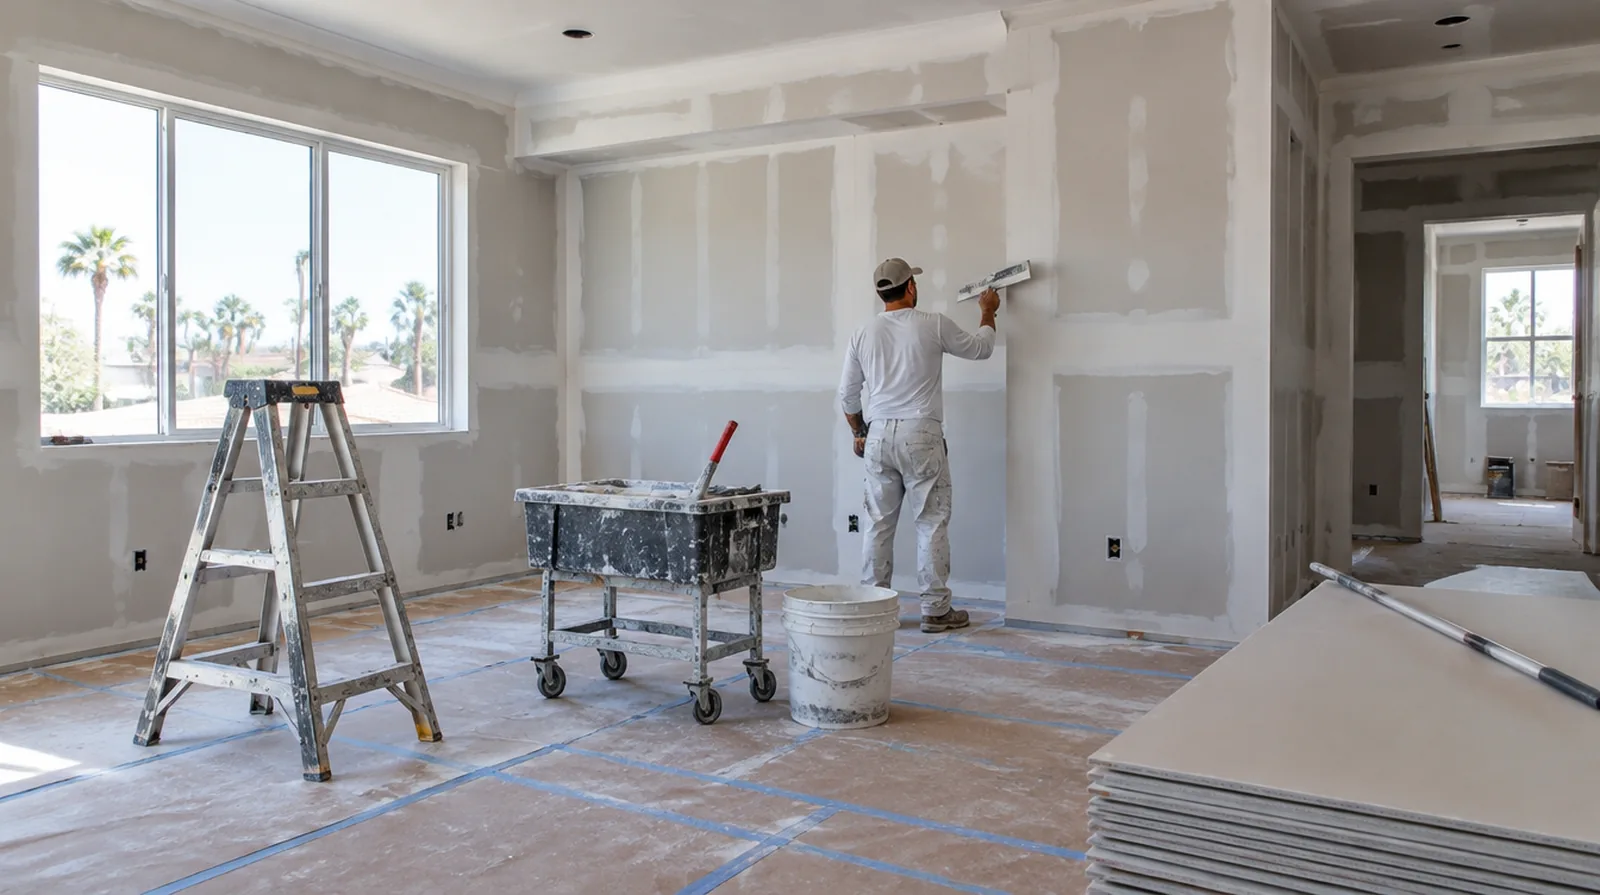
Assess the hung board
Misaligned panels or unsupported joints need attention before the finishing layers can perform properly. Fastener depth and board alignment ought to be checked before joint treatment begins. When a wall has repeated defects, keep a record of earlier repair attempts so a new assessment does not simply repeat an unsuccessful approach.
Agree on the visual standard
The expected decorative paint sheen, room lighting and viewing distance influence how much finishing a wall needs. A written finish level gives the installer and painter a clearer shared target. For walls beside bright windows, review a dry sample from an oblique angle as well as looking straight at the repaired surface.
Inspect the whole wall
Checking only the joint lines misses transitions near corners, ceiling edges and electrical boxes. Use the intended room lighting where practical and include an oblique view across the plane. When the project space includes a doorway, check the clearance for panel movement as well as the amount of space available for finishing tools.
Choose joint materials
Joint bedding and the last surface coats do not necessarily call for identical products. Selection should reflect joint type, indoor conditions and the manufacturer guidance rather than convenience alone. Where flooring is staying in place, agree on protective coverings and check that tools and material handling will not damage the visible finish.
Build the seam gradually
Make later joint coats progressively broader so the transition becomes less abrupt. Square cut sheet ends need particular care because they do not offer the recess of tapered factory edges. When concealed damage is possible, establish how additional findings and any proposed removal will be recorded before the scope changes.
Allow genuine drying time
A firm outer skin does not always mean the material beneath it is ready for sanding. Temperature, air movement and room humidity affect the interval between stages of finishing. Where occupants have dust sensitivity concerns, agree containment and cleaning measures before settling the way the room will be staged.
Consider a skim layer
Light passing across a wall can emphasize the difference between finished joints and the panel paper. Where the finish specification requires greater uniformity, consider an suitable broad skim application. Before comparing two proposals, check that both include the same protection, finishing and cleanup boundaries rather than comparing totals alone.
Cover fastener heads
Fill fastener depressions level with the surrounding face without creating avoidable mounds. A screw that protrudes or has broken the paper should be addressed before it is concealed. At the handover inspection, review the finish from ordinary room positions using the lighting conditions that were agreed for the work.
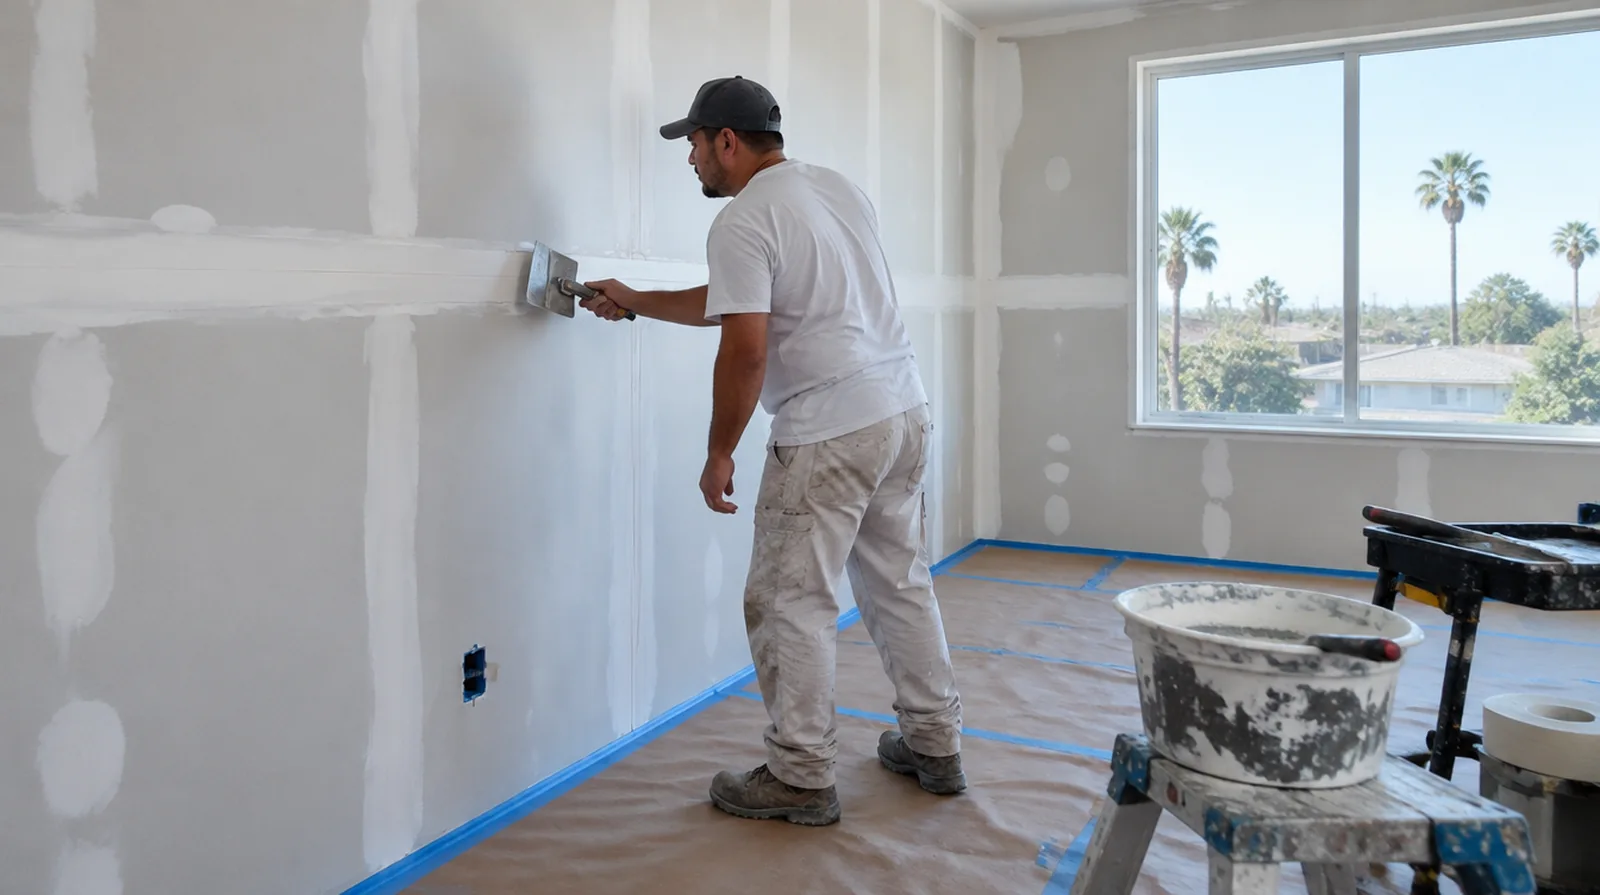
Use controlled sanding
Sanding should refine small tool marks rather than grind away a badly shaped joint. Dust management remains necessary even when only a limited number of seams are being finished. When the history of a repair is uncertain, note when it became noticeable and whether its appearance has altered across different seasons.
Keep external corners straight
Corner bead provides a consistent line but needs secure installation and sufficient compound coverage. Resolve distortion or damage to the bead before successive coats make correction more difficult. If the surface condition is uncertain, allow for an assessment that can distinguish stable material from layers that should never be covered.
Project context in Garden Grove
Floor protection should follow material handling from the entrance to the repair. Include that viewpoint when discussing how far the finishing blend should extend.
Scope questions before finishing
When a quote includes multiple visits, ask what happens during each stage and when the interior needs to remain undisturbed between coats.
At a ceiling or wall containing fittings, assign removal and reinstatement duties for the affected devices before repair access is needed.
For a planned new wall mounted fixture, resolve its backing requirements while the cavity remains open instead of cutting into completed drywall later.
For a project involving a building manager, confirm access hours and protection requirements before promising a start date or a short completion window.
When the history of a repair is uncertain, note when it became noticeable and whether its appearance has altered across differing seasons.
Before comparing two proposals, check that both include the same protection, finishing and cleanup boundaries rather than comparing totals alone.
At a surface receiving strong window light, review a dried trial from the side in addition to the normal straight view of the wall.
If materials must cross common building areas, plan the protection and access route so other occupants are not needlessly obstructed by deliveries.
Where flooring is staying in place, agree on protective coverings and check that tools and material handling will not damage the visible finish.
When the work area includes a doorway, check the clearance for panel movement as well as the amount of space available for finishing tools.
At a repair beside an opening, allow clearance for moving board through the doorway and space to use the finishing tools effectively.
For a surface that will receive wall covering, share the product requirements early so the finishing stage supports the planned decorative treatment.
Explore the Garden Grove drywall overview for related options, or read the project planning information before arranging the next stage.
More planning details for Garden Grove
A Garden Grove living room repair may be seen most often from the entry rather than directly in front of the damaged spot. Old paint layers and a subtle texture can matter as much as the patch dimensions, so keep the decorating plan connected to the surface assessment. If the room stays occupied, choose a practical place for furniture and define which route remains open during work.