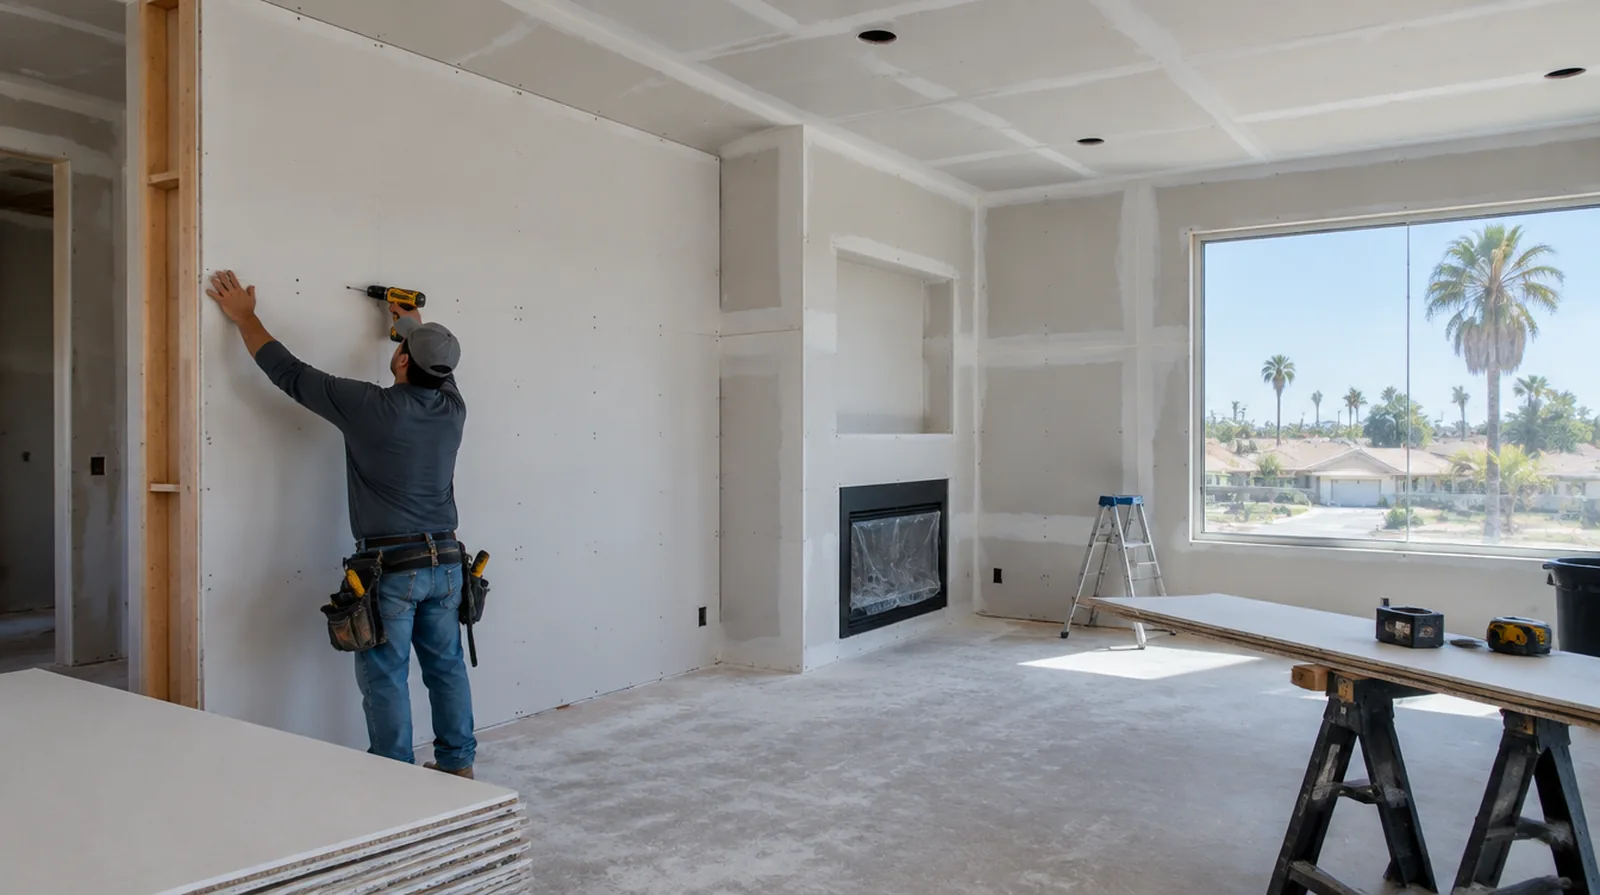
Inspect supporting framing
Drywall follows the framing underneath it, so bowed studs or uneven backing can show through the finished face. Deal with significant framing irregularities while the structure is exposed, before the boards conceal it. If occupancy must resume on a certain day, include the later primer and paint stages in the timetable as well as drywall installation and finishing.
Define the finish level
Hanging board and delivering a paint ready wall are differing stages that ought to be described separately. The chosen sheen and grazing light conditions may require a higher surface standard in a prominent room. Where the quoted work stops before painting, request an explicit description of what remains so the next decorating stage can be priced realistically.
Confirm concealed work
Required checks on concealed services and insulation should be completed while the wall remains open. Photographs and a written readiness check help avoid opening a newly installed wall later. Where a finished perimeter is prominent, decide whether trim stays in position or is removed before agreeing how the new surface meets that edge.
Select appropriate panels
Choose sheet thickness and panel properties to suit the specified assembly and the intended location. Moisture resistant board is not a substitute for a required waterproofing system in a wet area. For a room that stays in use, set a workable boundary around construction while retaining the access people need for normal daily activities.
Control fastening depth
Proper fastening holds the gypsum securely while leaving its face paper intact. Repair overdriven fixings or inadequate edge support rather than expecting compound coats to conceal those defects. For a surface that will receive wall covering, share the product requirements early so the finishing stage supports the planned decorative treatment.
Measure the complete assembly
Calculate the board layout from all the surfaces and openings instead of the room floor area alone. A measured layout helps reduce narrow infill strips and unnecessary joints around doors. When the decorative coating has been selected, tell the finisher its intended sheen and color while the preparation of the surface standard is still being agreed.
Inspect before decoration
Review dry finished walls while their edges remain visible and before fixed furnishings obstruct access. Use the agreed lighting and note any further preparation the painter should expect. For walls beside bright windows, review a dry sample from an oblique angle as well as looking straight at the repaired surface.
Plan deliveries and access
Sheet dimensions have to suit the available stairs, doors and handling space as well as the finished wall. Allow for stairs, tight turns and storage when assessing material movement and installation labor. Where a neat final edge matters, agree whether the finish ends against existing trim or whether that trim will be removed and replaced.
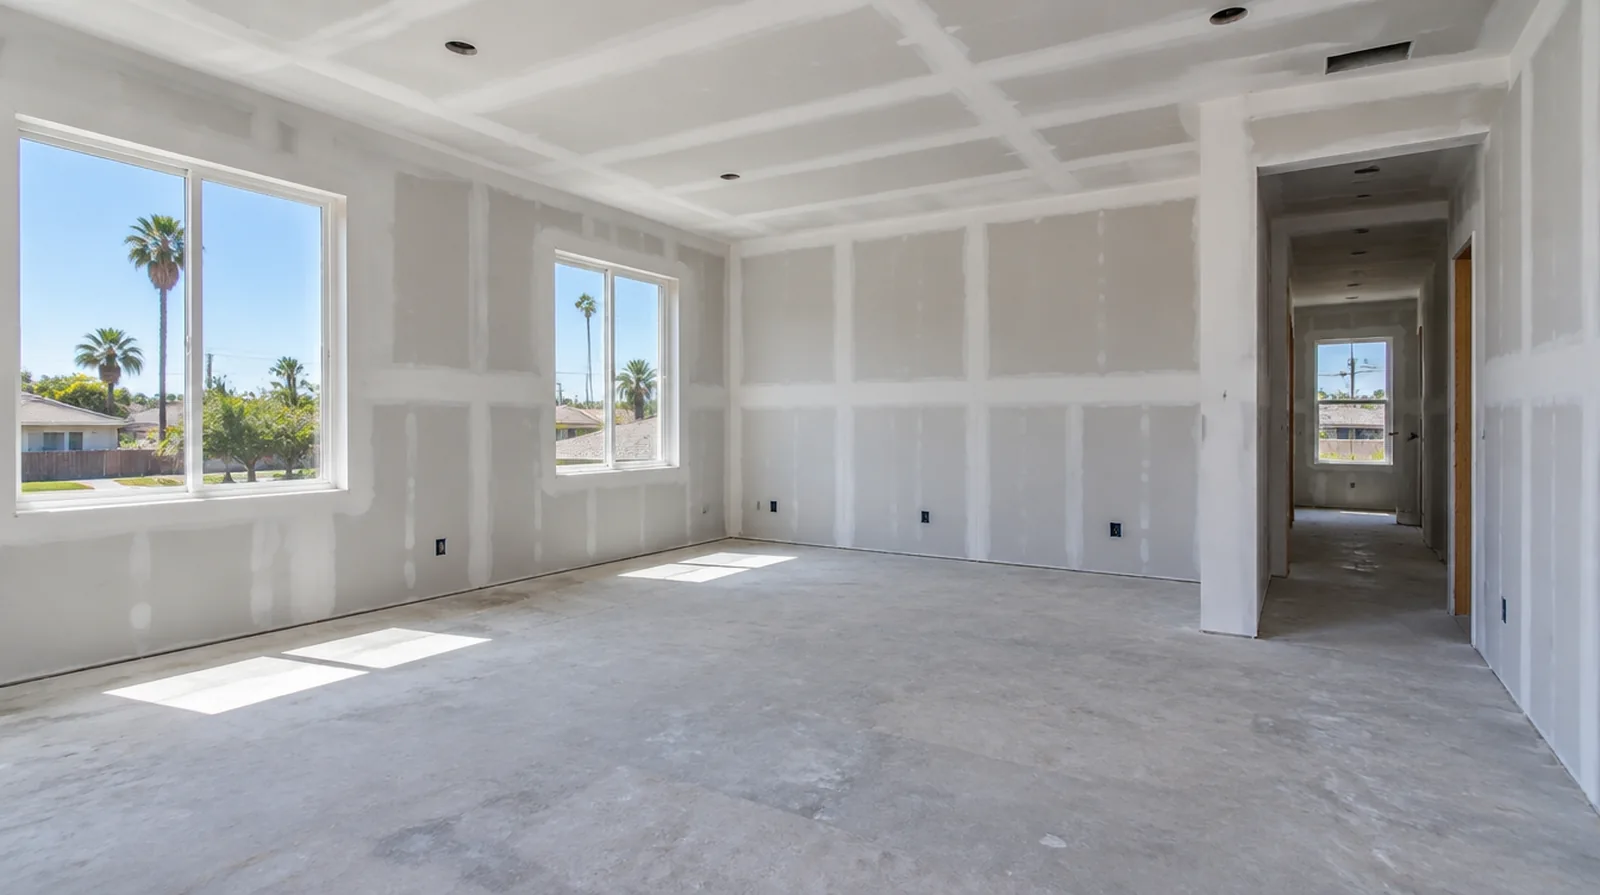
Lay out the joints
Arrange supported sheet edges and joint positions with the openings and final finish in mind. A sensible panel pattern makes both the fastening stage and the later joint treatment more straightforward. At a surface receiving strong window light, review a dried trial from the side in addition to the normal straight view of the wall.
Fit corners and openings
The finished corner line depends on precise fitting before compound is applied. Select the exposed edge profile for the design and the level of contact it will receive. For a wall receiving a decorative covering, provide its preparation requirements early enough for the drywall finish to support that product.
Project context in Garden Grove
Old paint layers and a subtle texture can matter as much as the patch dimensions, so keep the decorating plan connected to the surface assessment. Decide in advance whether a separate painter is responsible for the complete wall or only the repaired section.
Scope questions before finishing
Where the wall meets fixed furniture, clarify whether removal is included or whether the finish will terminate at the accessible edge.
At the handover inspection, review the finish from ordinary room positions using the lighting conditions that were agreed for the work.
If the problem developed after another renovation, explain which nearby materials or building systems changed before the damage became visible.
If a household member is sensitive to dust, discuss containment and cleaning expectations before choosing how to stage the interior work.
At a repair beside an opening, allow clearance for moving board through the doorway and space to use the finishing tools effectively.
At a ceiling or wall containing fittings, assign removal and reinstatement duties for the affected devices before repair access is needed.
If there is a fixed move in date, reserve adequate time for the coating stages after drywall work rather than counting only the installation period.
For a project involving a building manager, confirm access hours and protection requirements before promising a start date or a short completion window.
If the decorative coating is already chosen, share its sheen and color early because those choices influence how surface preparation is judged.
Where existing floors will remain, specify protective measures and review the path used by panels, equipment and finishing tools.
In a room with little free floor space, identify temporary storage for belongings and establish enough clearance for the work before delivery.
When reviewing the finished work, use the agreed lighting and natural room viewpoints so the assessment reflects the intended use of the space.
Explore the Garden Grove drywall overview for related options, or read the project planning information before arranging the next stage.
More planning details for Garden Grove
A Garden Grove living room repair may be seen most often from the entry rather than directly in front of the damaged spot. Include that viewpoint when discussing how far the finishing blend should extend. If the room stays occupied, choose a practical place for furniture and define which route remains open during work.